
Kitomba can help you to manage paying your employees their wages and commissions by working with iPayroll in NZ or Cloud payroll AU. It is the same product just a different name.
This guide has been designed to help you to understand how Kitomba works this system to make your pay days a little easier.
If you are new to iPayroll, we suggest you give their Team a call on (Auckland) 09 377 1517 as they are just as friendly and helpful as we are – we checked!
You need to ensure that you have already done the following;
1. Creating Commission Groups in Kitomba
2. Creating Commission Plans in Kitomba
3. Assigning Staff to any Commission Group
If you haven't completed these steps or need a refresh, read our Commissions and Payroll guides in the Knowledge Base
- Commissions guides: https://support.kitomba.com/hc/en-us/sections/115004131528-Commision
- Payroll guides: https://support.kitomba.com/hc/en-us/sections/115004131508-Payroll
Setting up Kitomba
Once you are ready to use both Kitomba and iPayroll together, first you will need to tell Kitomba that you are going to use iPayroll.
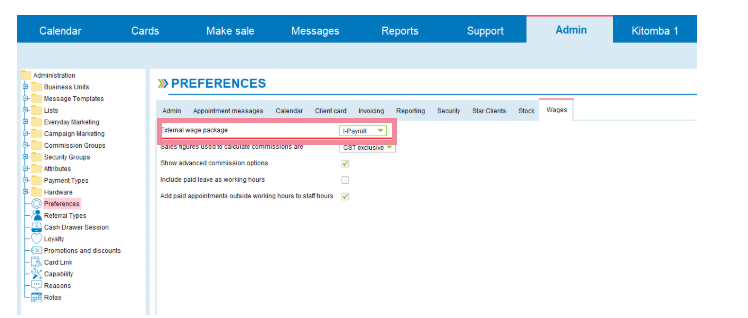
1. Set I-Payroll as your External Wage Package in the Admin Tab under Preferences. This also applies to Cloudpayroll.
2. Next, Kitomba will need to be restarted to proceed with the setup process.
3. Click on the File menu in the top right hand corner of your screen
4. Select Quit (Local Backup)
5. This will display a Confirmation popup window - click on Close Kitomba to shutdown.
Once Kitomba has completely shut down and performed a local backup, restart Kitomba from your desktop shortcut icon.
6. Now you need to give your existing commission plan(s) a Reference in external wages package to allow iPayroll to understand Kitomba‟s wages information.
7. Click on the Admin Tab
8. Open the Commission Groups category and select a group. This will display the Groups available plans on the right hand side of the screen.

9. Select the Commission Plan from the list and click the Edit Selected Plan button above.

10. Now enter a reference for iPayroll here.
This reference must not have any spaces or non-alphanumeric characters.
11. To complete the setup process in Kitomba next you will need to add an Employee ID and Hourly Rate to each staff member record
12. In the Admin Tab, open the Business Units folder. Next open your Business Unit.
13. Select the staff member you wish to add an ID for iPayroll.

14. The selected staff members details will display on the right hand side of the screen.

15. Click on the Commission tab
16. Set the Employee ID to match their ID in iPayroll
17. Enter the employee's Hourly Rate
Setup & Wages in I-Payroll
Some configuration of iPayroll is required if you wish to use a 'Custom' Reference In External Wages Package (As previously setup in Kitomba Commission Groups).
To achieve this a ‘Special Payments‟ type needs to be setup in iPayroll.
1. Click on Payroll, then Payments.
![]()
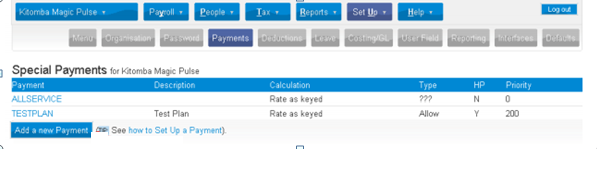
2. Click on setup, then Payments. Next you will see the above screen.
3. Click on the Add a new Payment button.
If you want to use the information generated by Kitomba to work out your wages with iPayroll, then you will need to setup iPayroll to understand what Kitomba is telling it.
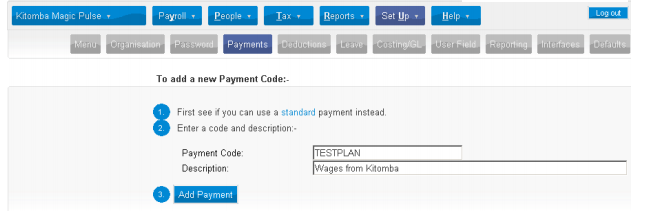
4. Enter the Payment Code to match the external reference you have used in your Kitomba commission plan.
Notes:
- If you have multiple commission plans in Kitomba, you will need to have a matching payment code in iPayroll for each.
- Payment codes in iPayroll must not have any spaces or non alphanumeric characters and must match the external reference you have used in your Kitomba.
- If you want to use the information generated by Kitomba to work out your wages with iPayroll, then you will need to setup iPayroll to understand what Kitomba is telling it.
- You also need to know how Kitomba is sending information to iPayroll so you know what the figures are that you will use.

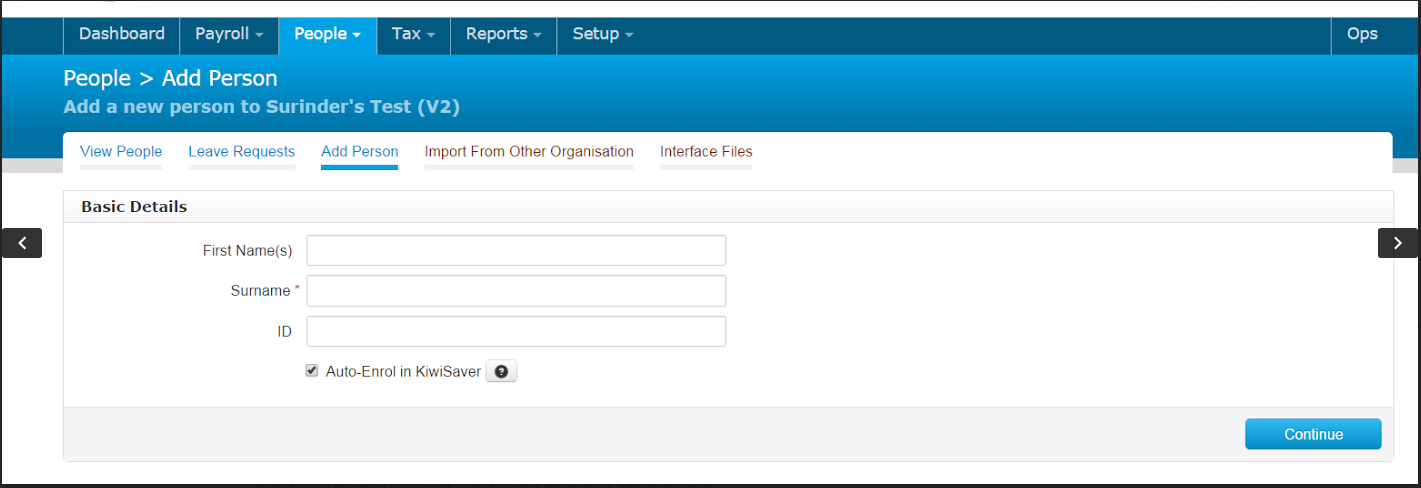
If you are new to iPayroll and are adding your staff to your iPayroll account, enter an ID here. This must match the staff persons Employee ID in Kitomba.
If you already use iPayroll for wages and commissions, the “Employee ID in Payroll System” in Kitomba must match the Employee ID in iPayroll.
Running the Wages Report in Kitomba
When you get to the end of your pay period, you will need to run the Wages Summary.
1. Go to the Reports tab.
2. Locate and click on the Wages Summary report - you'll find it in the Staff and Wages section of the Report tab
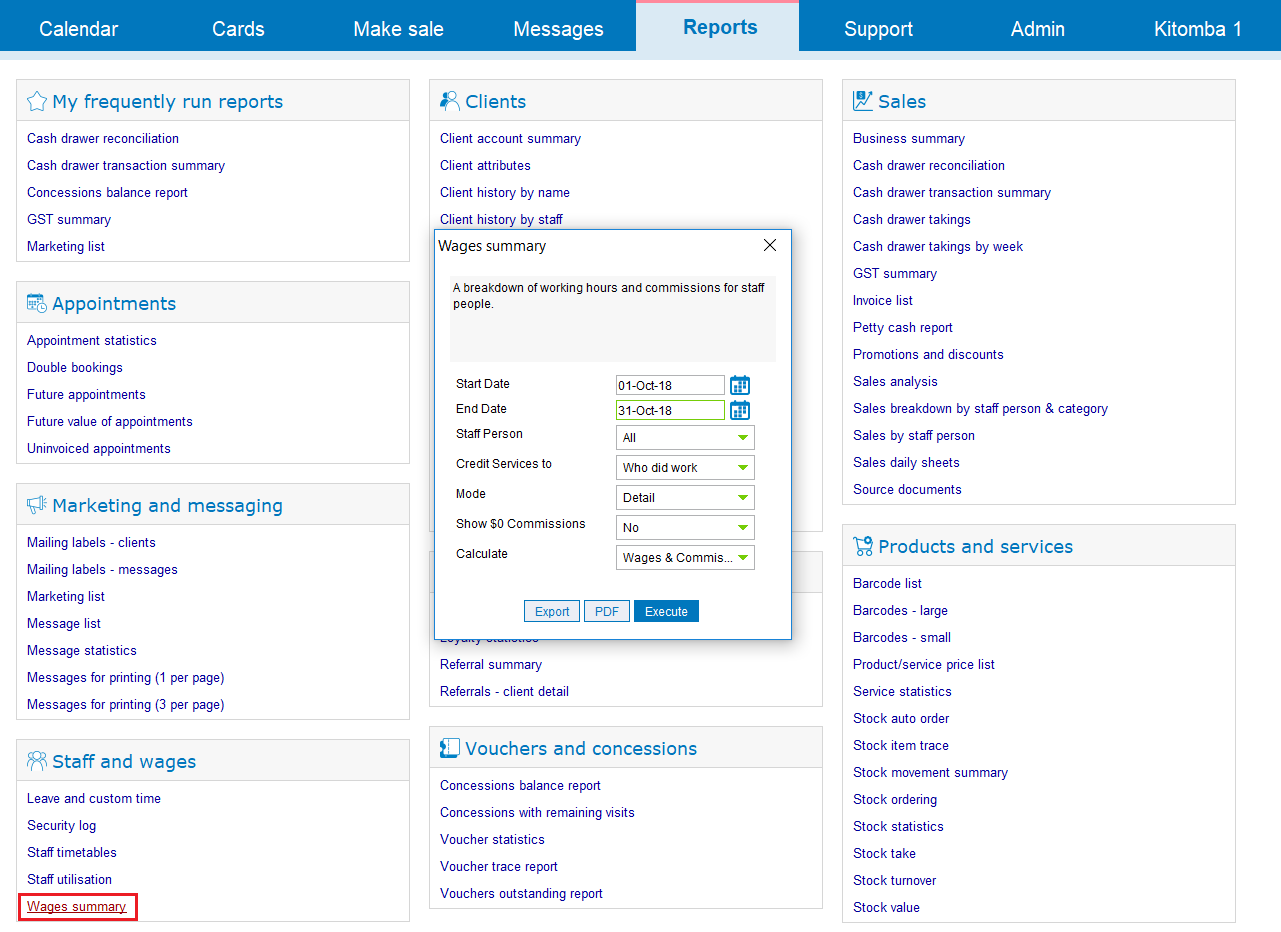
3. Set the Start Date and End Date to reflect your pay period.
4. Click Execute and the Report will be shown on screen.
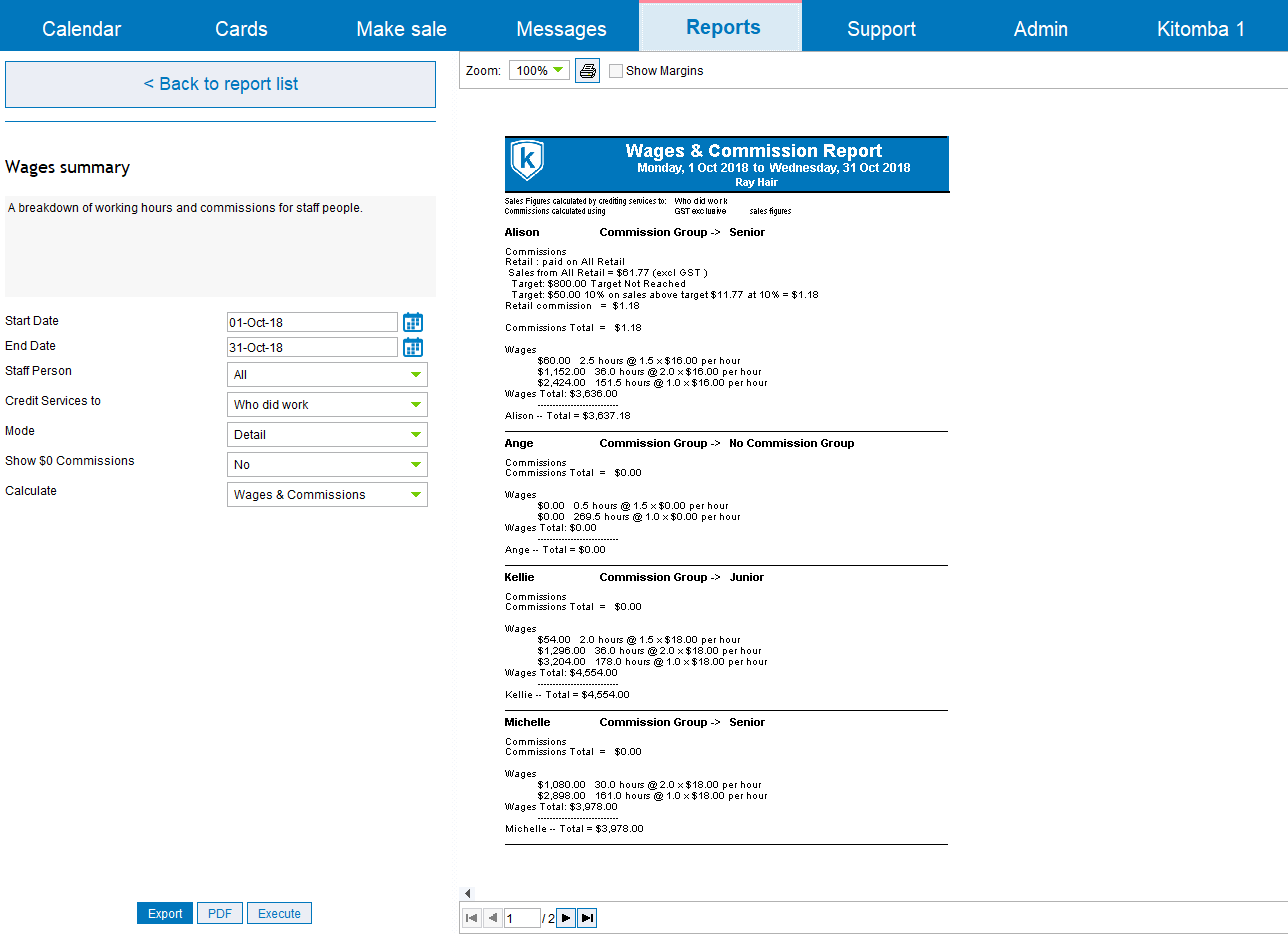
5. Check your figures and click Export to put this in a format that iPayroll can read and give the file a name.
When you save your file, it is advised that you save it in your iPayroll folder in My Documents.

Here is a sample of what the spreadsheet document should look like:

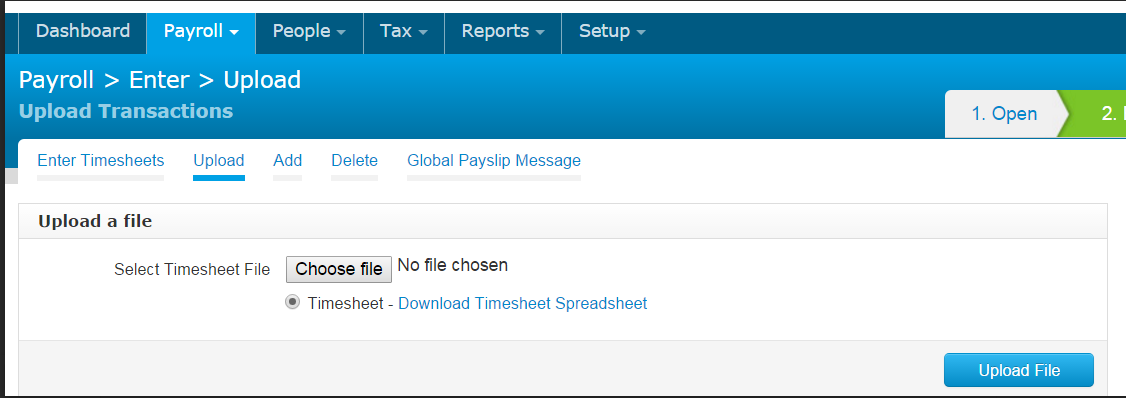
Importing the Timesheet Spreadsheet
Open your payroll for the specified pay period.

1. Click on Choose File. This will open a dialog box where you need to tell iPayroll which file you wish to upload. This file needs to be in excel format.
2. Select the appropriate file and click on Open.
Now you have completed the transfer of wages and commissions data from Kitomba to iPayroll and can proceed with the payroll process.
Comments
0 comments
Please sign in to leave a comment.