
This is a great option for casual (walk-in) retail sales or retail-only (no appointment) sales to an existing client.

Adding the Make sale tab
If the make sale tab is not showing
1. Go to the Admin tab in Kitomba.
2. Go to Preferences and then Invoicing
3. Tick the ‘show make sale tab (requires restart)’ box
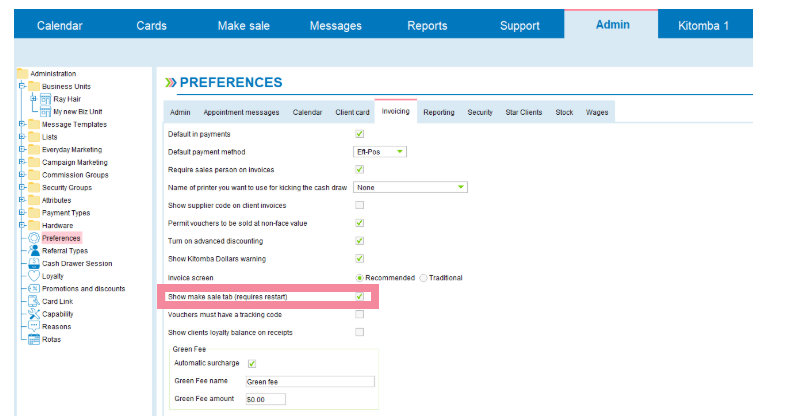
4. Select Save at the bottom of the screen
5. Close Kitomba
6. Reopen Kitomba. The Make Sale tab will display at the top of your Kitomba.
Using the make sale tab
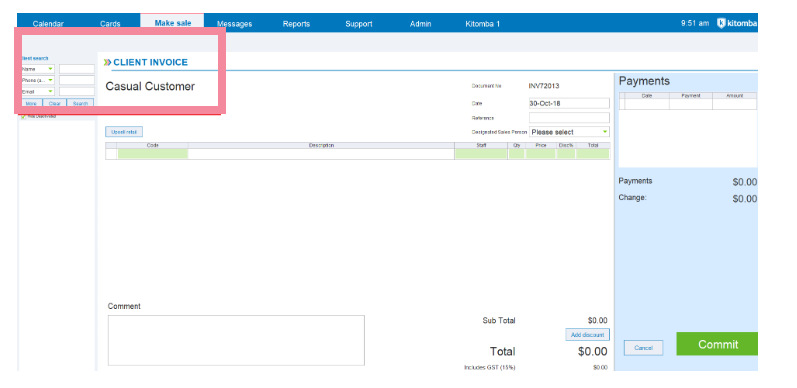
1. Once the Make Sale tab is showing in your Kitomba you can now use the Make Sale tab in Kitomba
2. This will open a blank invoice screen, which will default to the casual customer profile. If you want to assign one of your clients to an invoice (so that you can see their purchase in their history) use the customer search function and select the client.
3. Add the items you wish to sell either by:
scanning the item with your barcode scanner
or
in an empty row on the invoice, click in the description section. Type in the first few letters of the name of the product you are looking for. Keep typing until the right product comes up and then click on it with your mouse to select it.
4. Select your payment method, sales person and add any discounts that may apply.
5. Select Commit.
You have now completed the sale!
Comments
0 comments
Please sign in to leave a comment.